Put Yourself in the Clayface Poster | Photoshop Tutorial
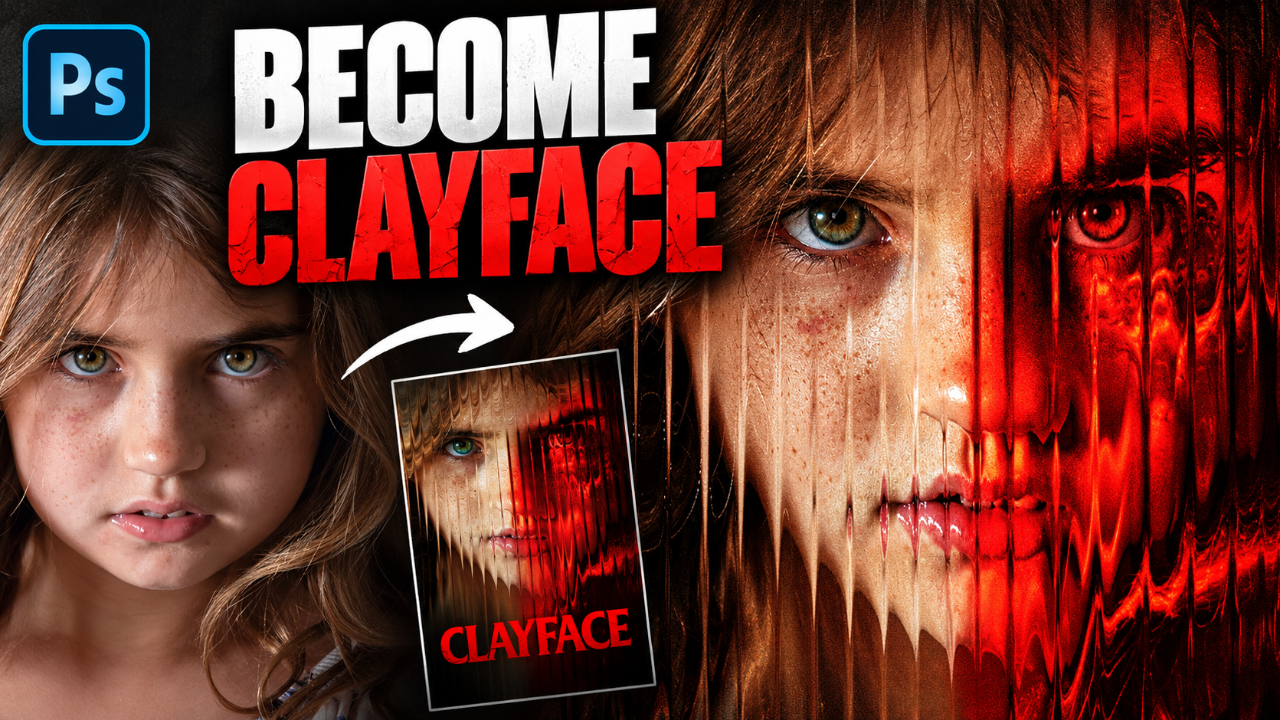
Turn any portrait into the Clayface movie poster in Photoshop. In this tutorial, I recreate the poster's melting face and ribbed glass effect step by step: building a custom displacement map, combining it with Liquify, creating a reusable glass texture, and splitting the face with a deep red color grade. The whole effect is built on a smart object, so you can swap in your own photo and get a new poster in minutes.
What you'll learn:
- Creating a melting/dripping face effect with Liquify and the Displace filter
- How displacement maps work (and how 50% gray protects areas from distortion)
- Building a ribbed/fluted glass effect with a custom texture in Filter Gallery
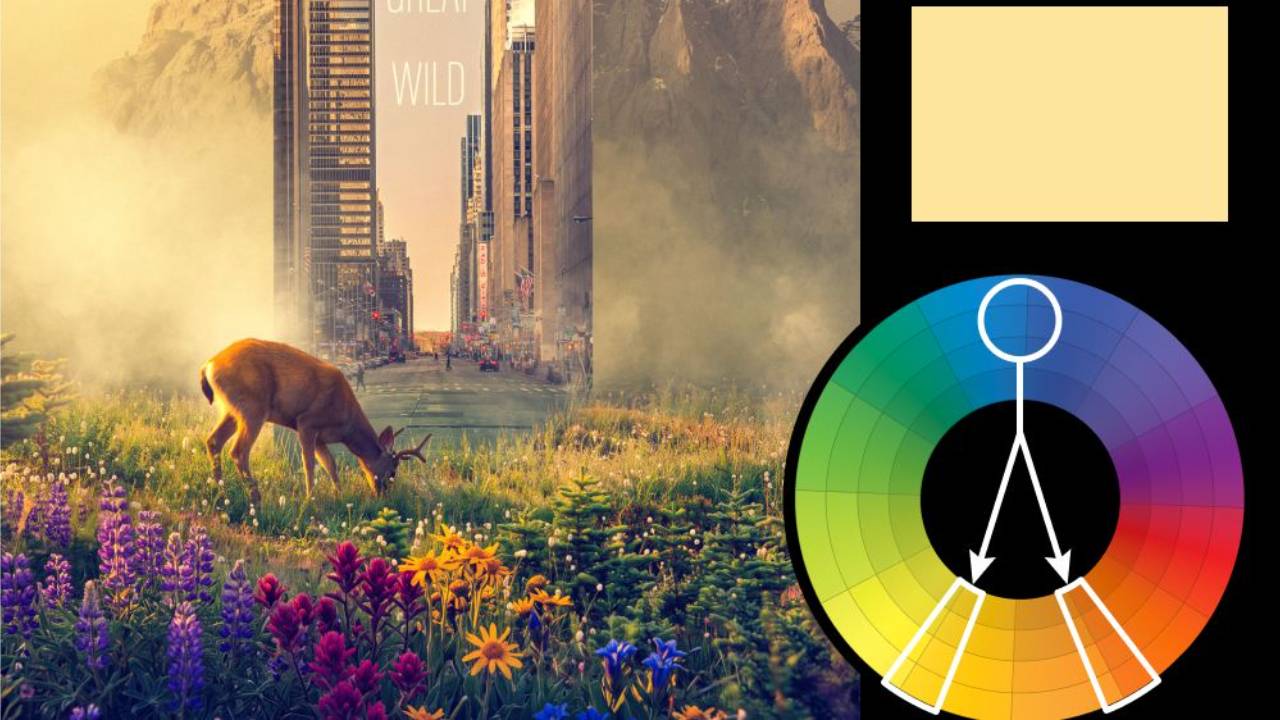
- Using a red color split with Color Balance, Gradient Map and Curves
- Movie poster color grading, selective High Pass sharpening and film grain
- Clay-textured title type matched to the original poster
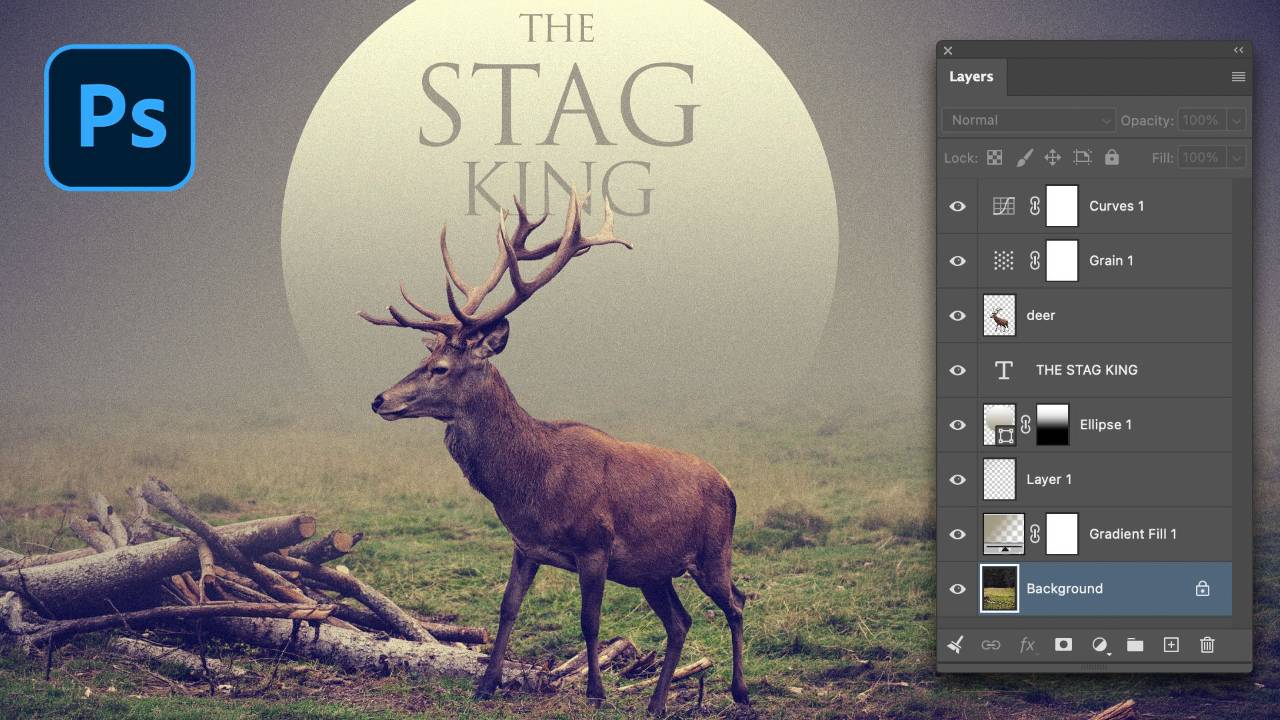
- Setting up a smart object template so you can swap in any face
Font used: Deadhead Rough
Clay texture generated with Adobe Firefly
You can download all the assets for this tutorial here:
Note: If you are not yet a member of Nucly, you can access the downloads here.