Glass Effect in Photoshop - Ripley Poster Tutorial
Eye-catching posters often combine captivating visuals with a touch of artistic flair. If you're looking to elevate your poster design game, this tutorial will show you how to achieve a refractive glass look using Photoshop.
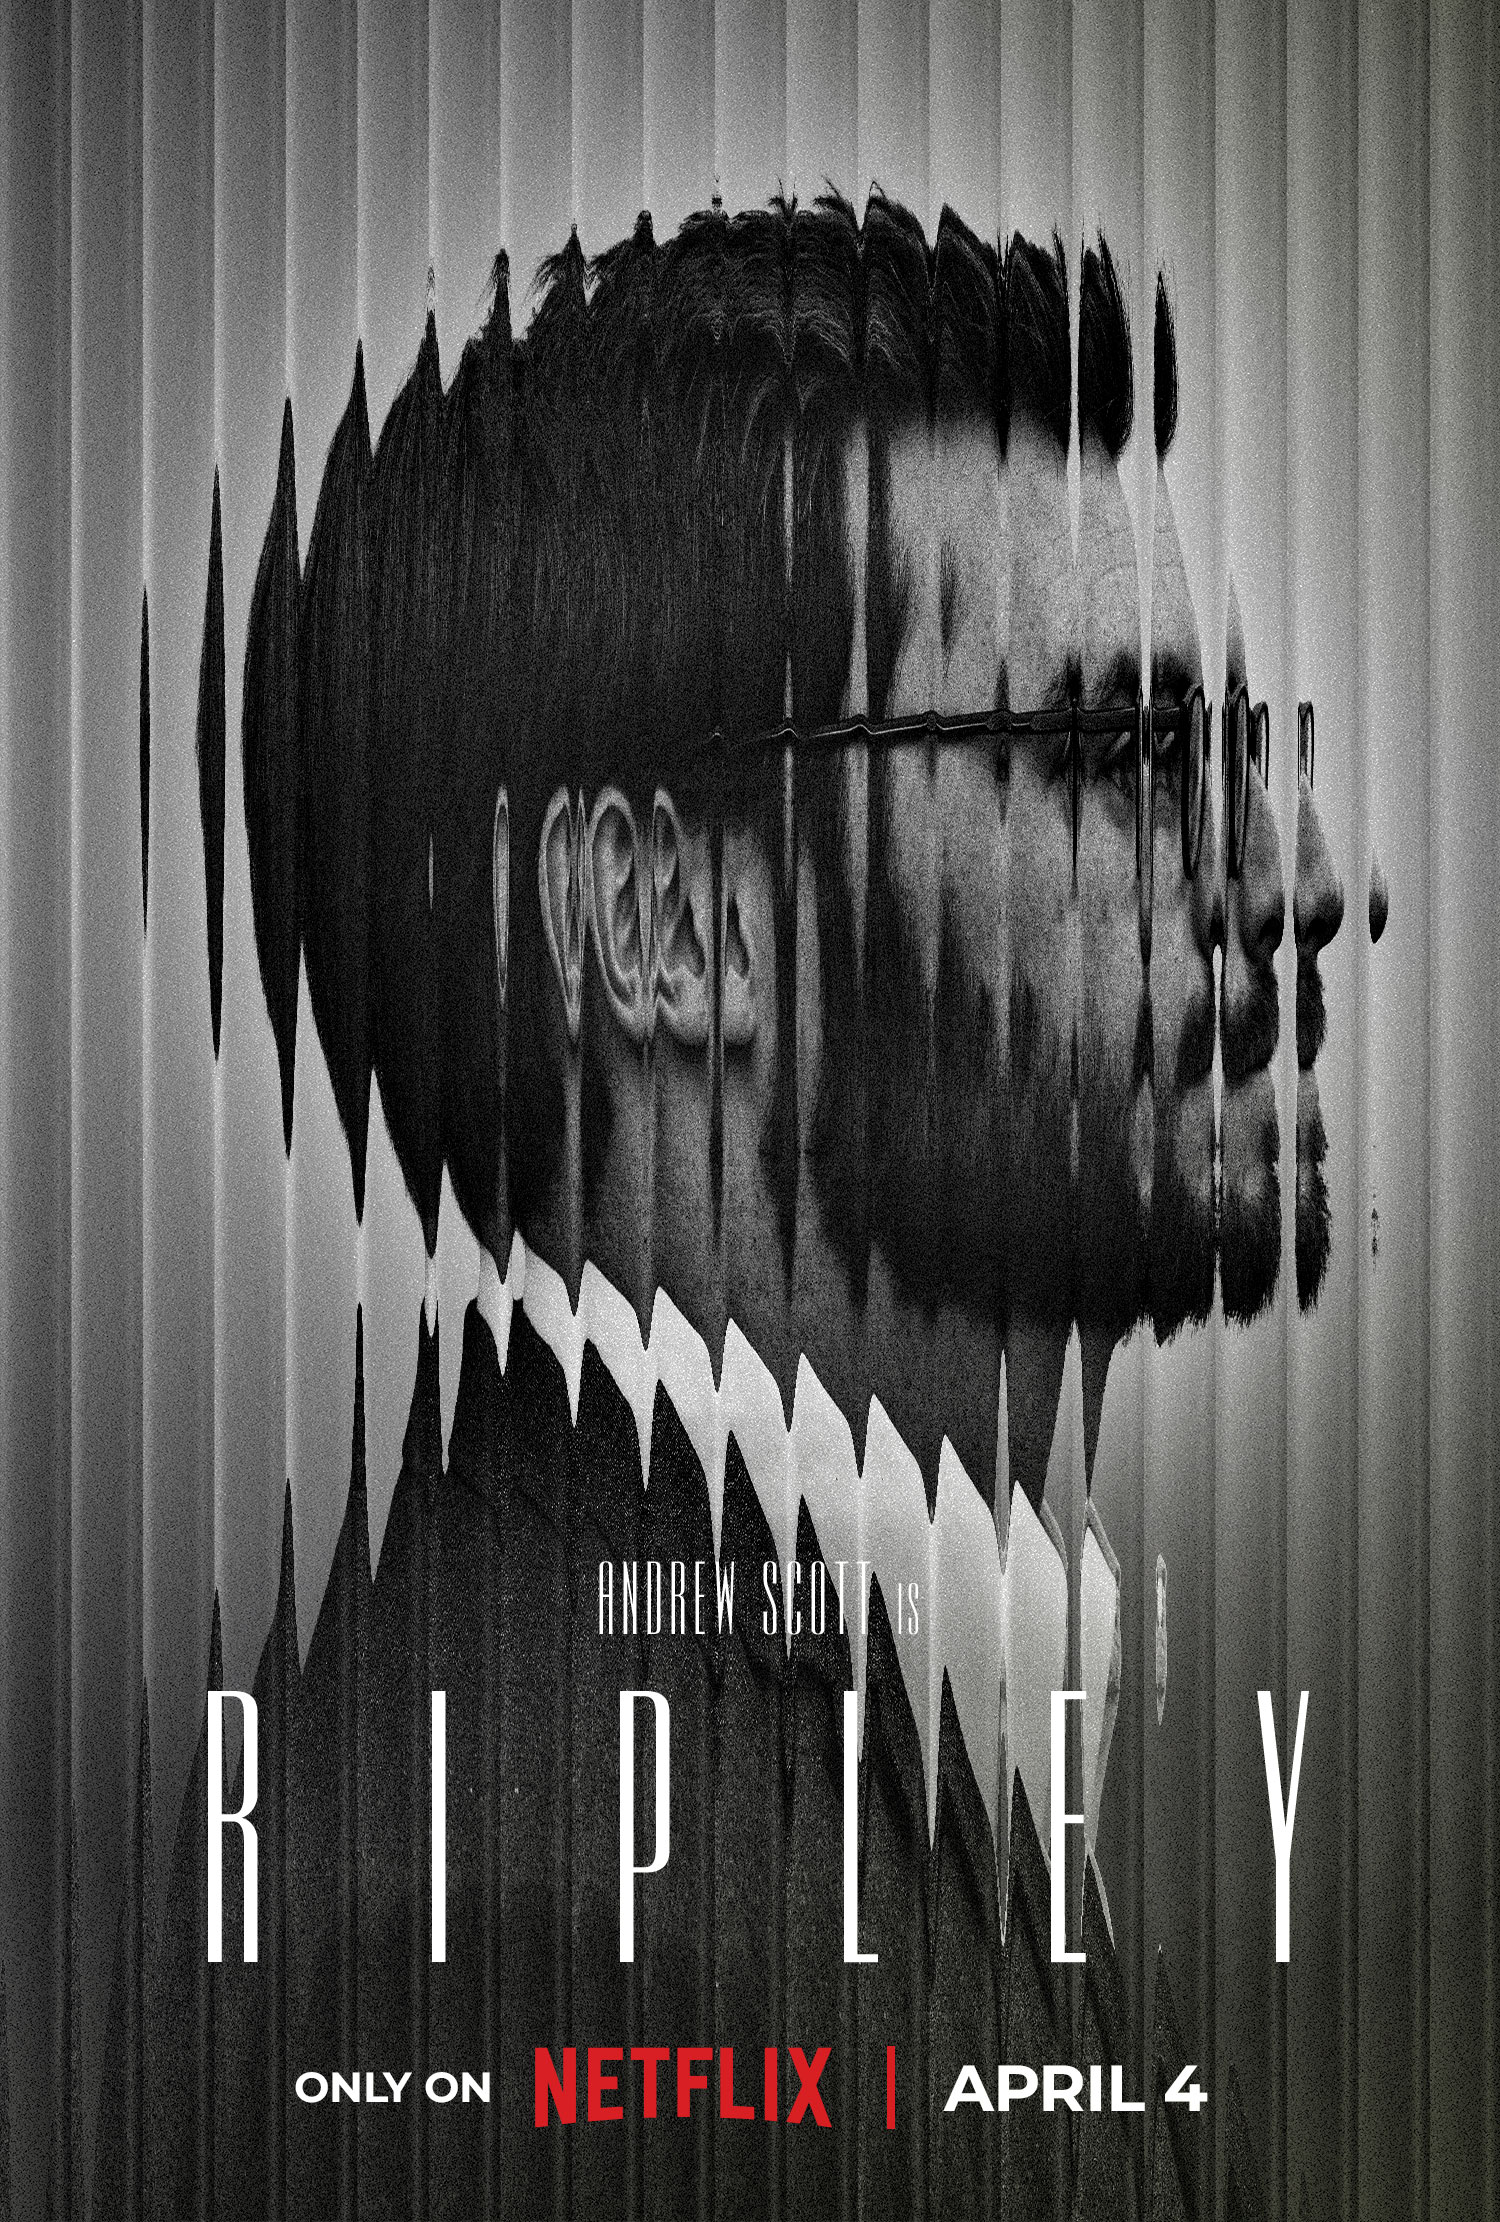
The poster we're recreating is this one from Netflix's show "Ripley."
Here are the basic steps to put together this poster:
Step 1: Prepare Your Image
- Create a new 8-bit RGB file with the image dimensions set to 1500px wide by 2222px tall, at 72 dpi.
- Create a guide layout with 21 columns and 5 rows, with a 100px top margin and a 134px bottom margin.
- Add a radial gradient going from light grey to dark grey
Step 2: Image Editing
- Start with the model image and cut him from the background. Also remove any distractions, fix clothing, and ensure the subject stands out.
- Use the Camera RAW filter to maximize the dynamic range of the image and also convert it to black and white.
Step 3: Creating the Glass Texture
- Generate a glass texture using white-to-black gradients. Start by creating the first gradient and then use the transform tool to make copies.
- Save a copy of the image without layers and label it as "refraction."
- To finish the glass effect, create a small gradient highlight and then use the transform again feature to repeat this across your image.
Step 4: Applying the Glass Effect
- Apply the glass effect in the Filter Gallery with the following settings: 19 distortion, 9 smoothness, and 100% opacity.
- Set the glass texture layer to blend mode overlay with a 30% fill and the highlights to 10% opacity with the Screen Blend mode.
- Use a mask on the glass texture group and remove the overlay from the subject's face.
Step 5: Final Image Touches
- Create a grey layer and use the noise filter to create grain (set to 12.5).
- Set the blending mode of this layer to Vivid Light and decrease the fill to 40%.
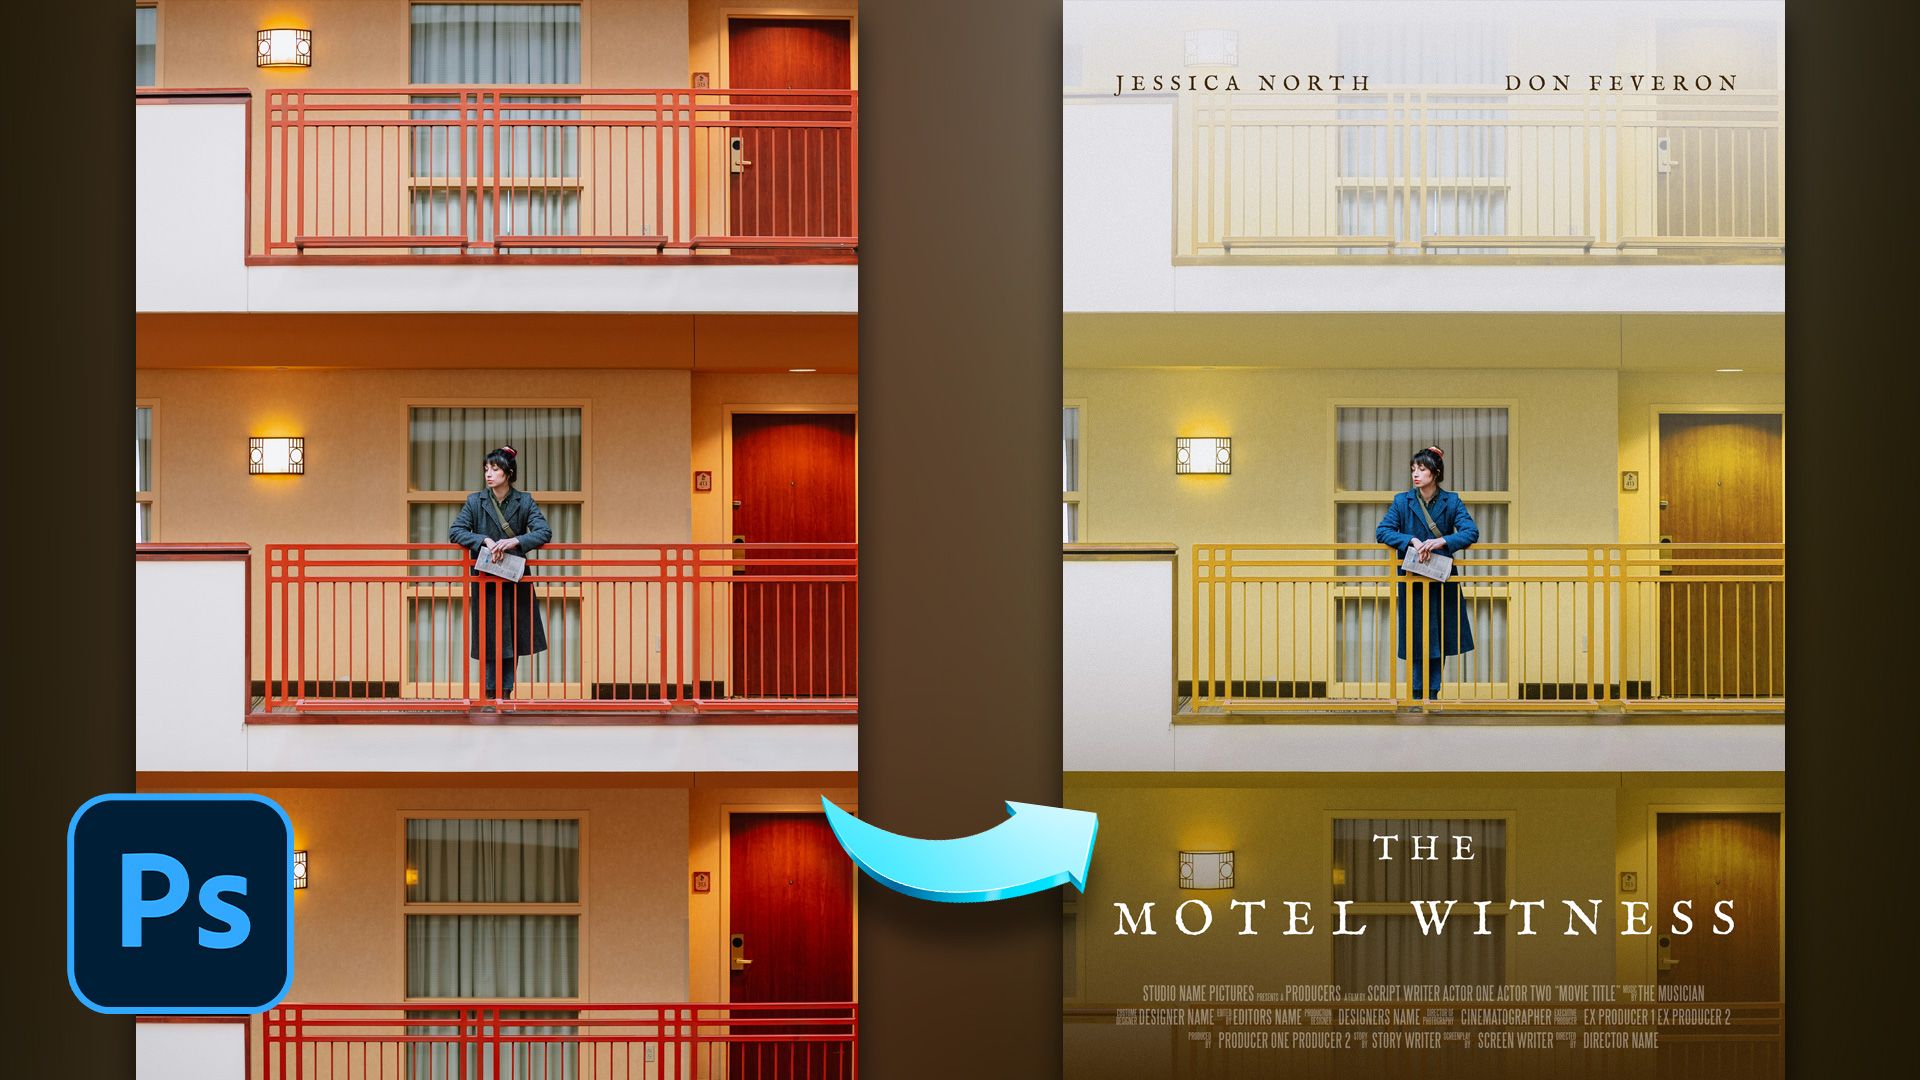
- Introduce subtle yellow/lime/mustard color gradient to the top right and bottom right of the image and set this soft light with a 15% opacity.
Step 6: Typography and Branding
- Add text elements using OPTIEmpirePro font. For the main "Ripley" title, use point size of 352pt with 460 tracking. For the character title, use small caps at 94pt with 80 tracking.
- Add the Netflix logo and the "ONLY ON" and release date text in Montserrat bold at 42pt and 45pt respectively.
You can follow along with the video using the assets below.
You can download all the assets for this tutorial here:
Note: If you are not yet a member of Nucly, you can access the downloads here.
Jump straight to the finish line?
You can get the final, layered Photoshop file from this tutorial (along with all assets) for a cup of coffee.
Purchase the Final Files