
Upgrade to the full signature textures
Watercolor Painting in Photoshop

Upgrade for only $8.99 instead of $65.99
UPGRADE NOWYou can do this.
Let’s create something amazing together.
Nucly training is project-based and recipe driven. We'll do an entire project together, step by step and by the end of it, you'll know a whole lot more about Photoshop... and about creativity, color, design and creating awesome imagery.
Get the Course
Learn how to create a composite... and then turn it into a painting
Learn all the techniques and skills you need to first composite in Photoshop and then turn that into a painting. And you'll get all my Watercolor paint brush presets... along with a Smart Object file to take your photo and turn it into a painting.
Get the Course
By the power of Smart Objects!
In this project, you won't just learn how to paint in Photoshop—you'll also learn how to use smart objects to create a template that will turn ANY of your photos into a painting with a few clicks. (And if you just want the template, it's included in the course assets.)
Take a sneak peek inside...
LESSON 1
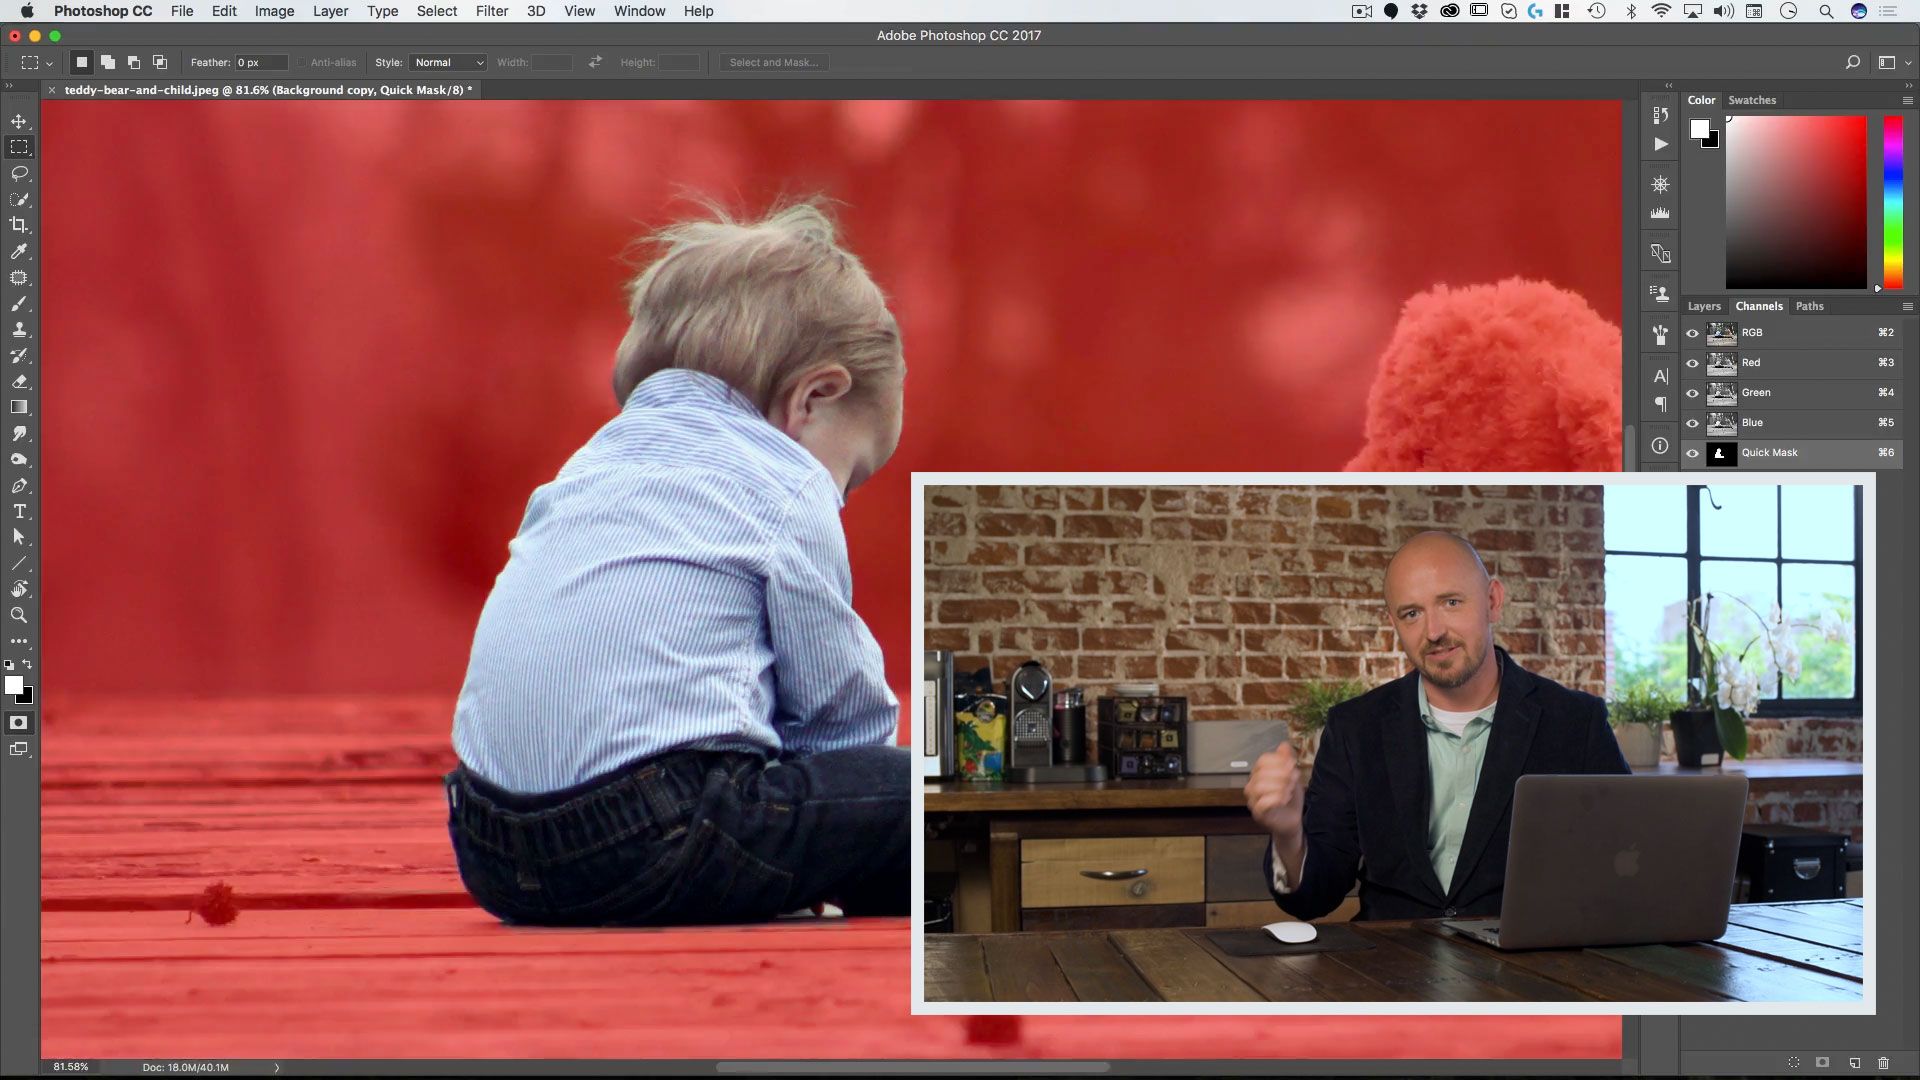
Getting Started
Here we cover setting up your file, the quick selection tool, quick masks and the mask and select dialogue and how to use these to rapidly cut out elements in your photos.
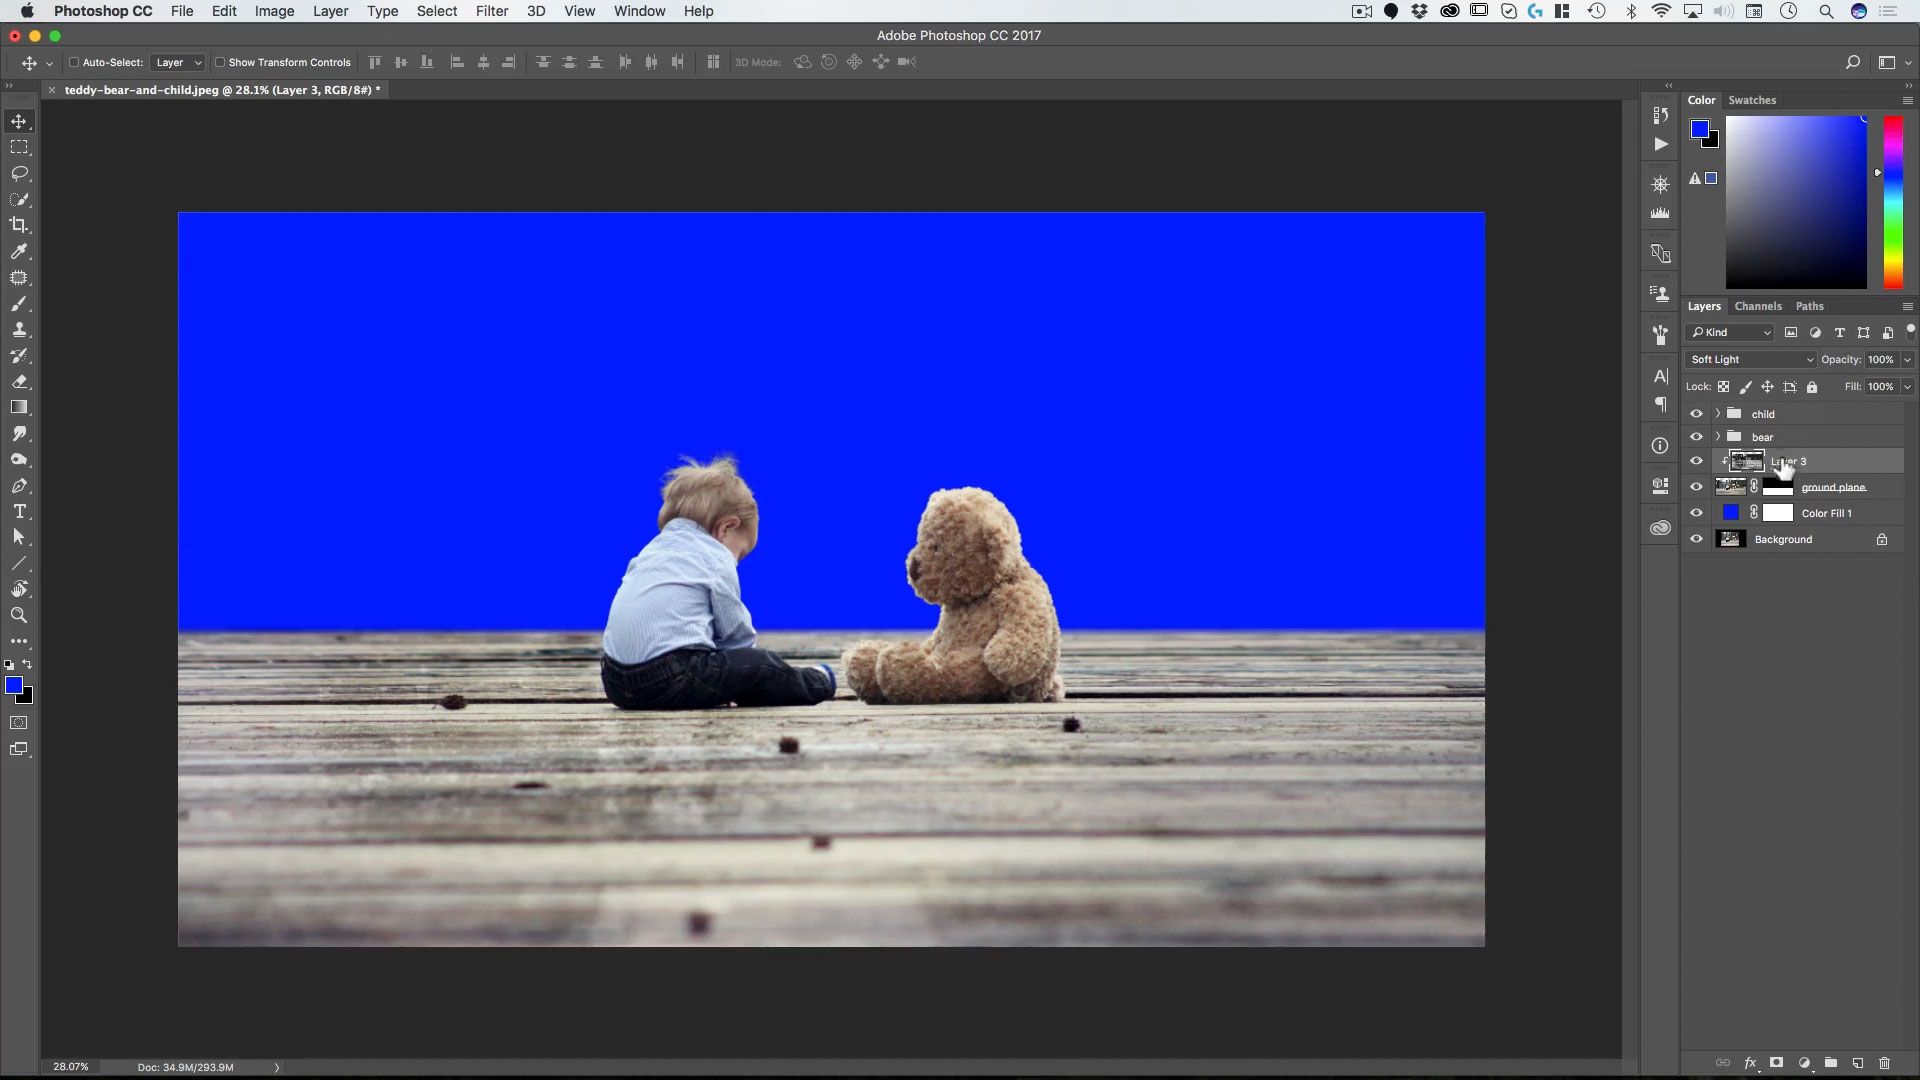
LESSON 2
Extending the Background
Here’s how to use transforms to quickly extend a background—and how to use layer blending modes to add texture to an existing surface.
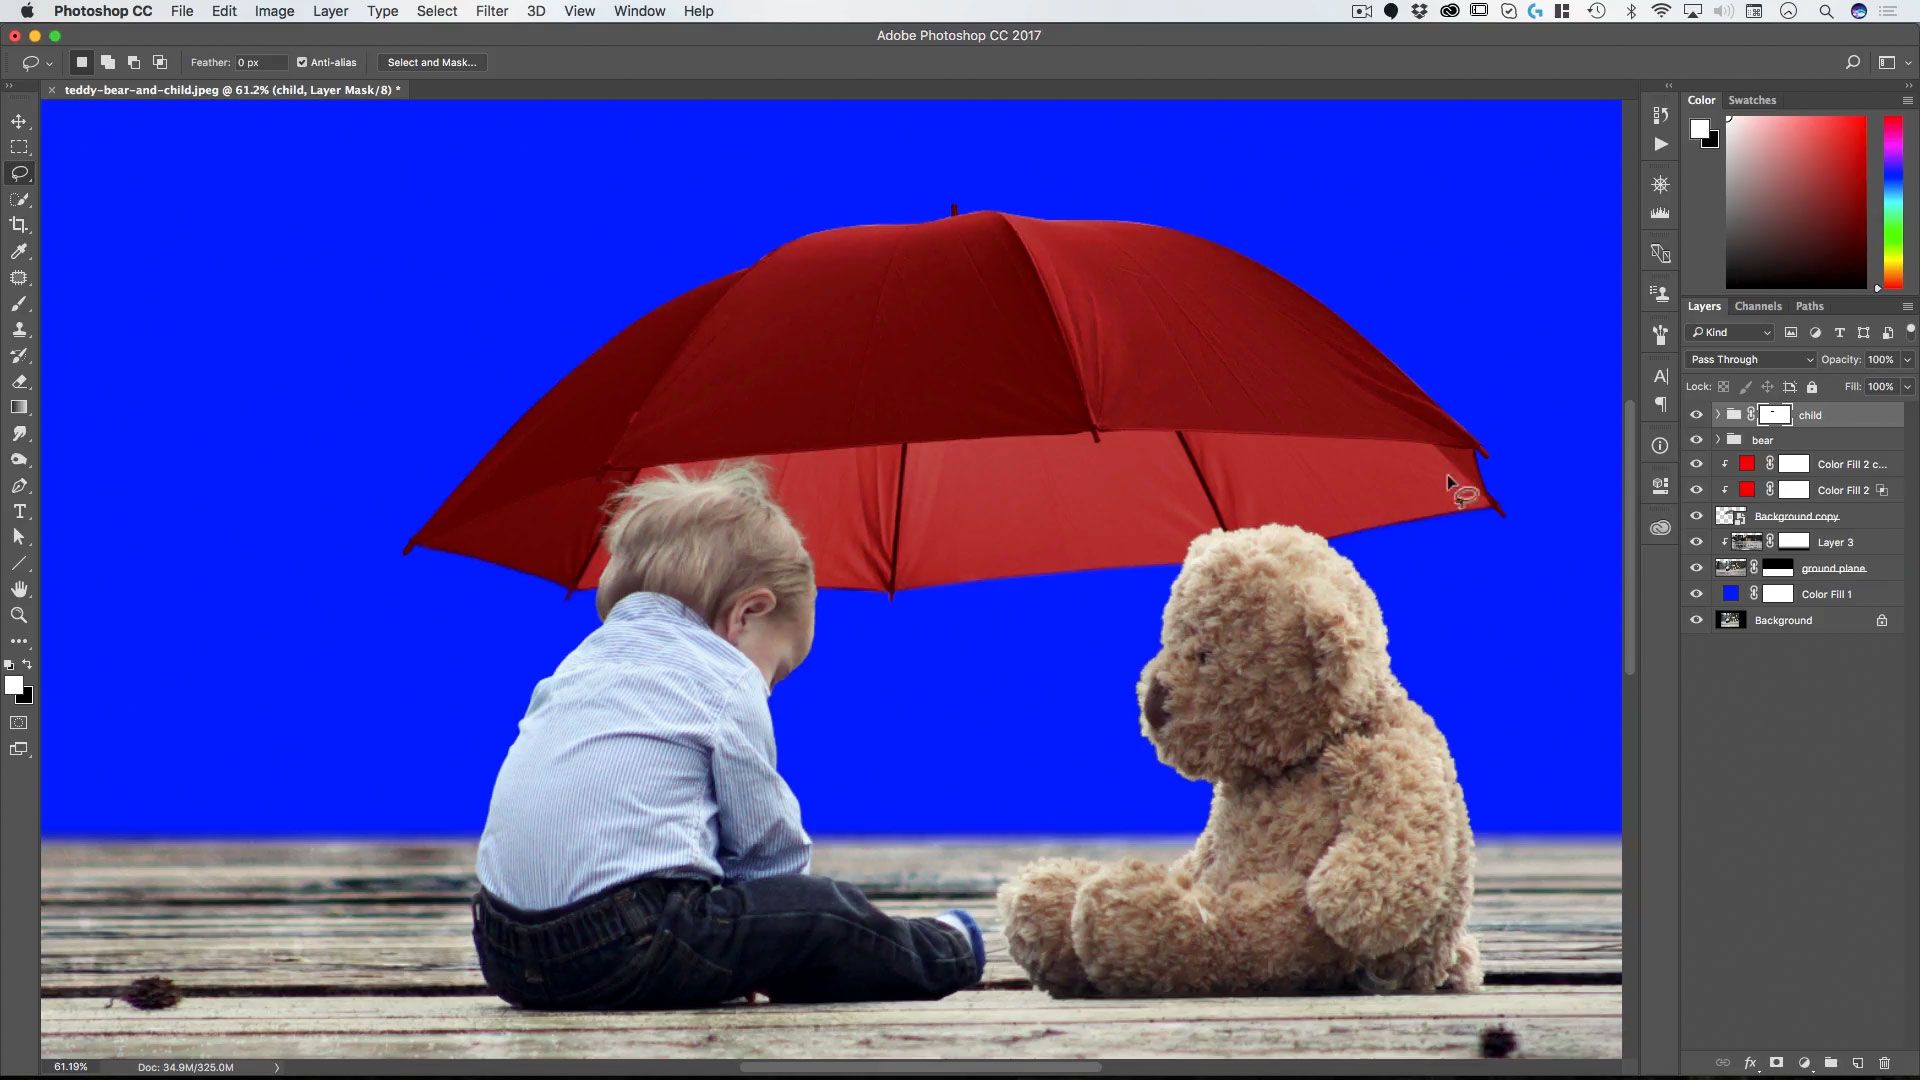
LESSON 3
Adding the Umbrella
Here we show how to mask with paths, adjusting masks with effects and adding color to an object realistically with layer blending techniques.
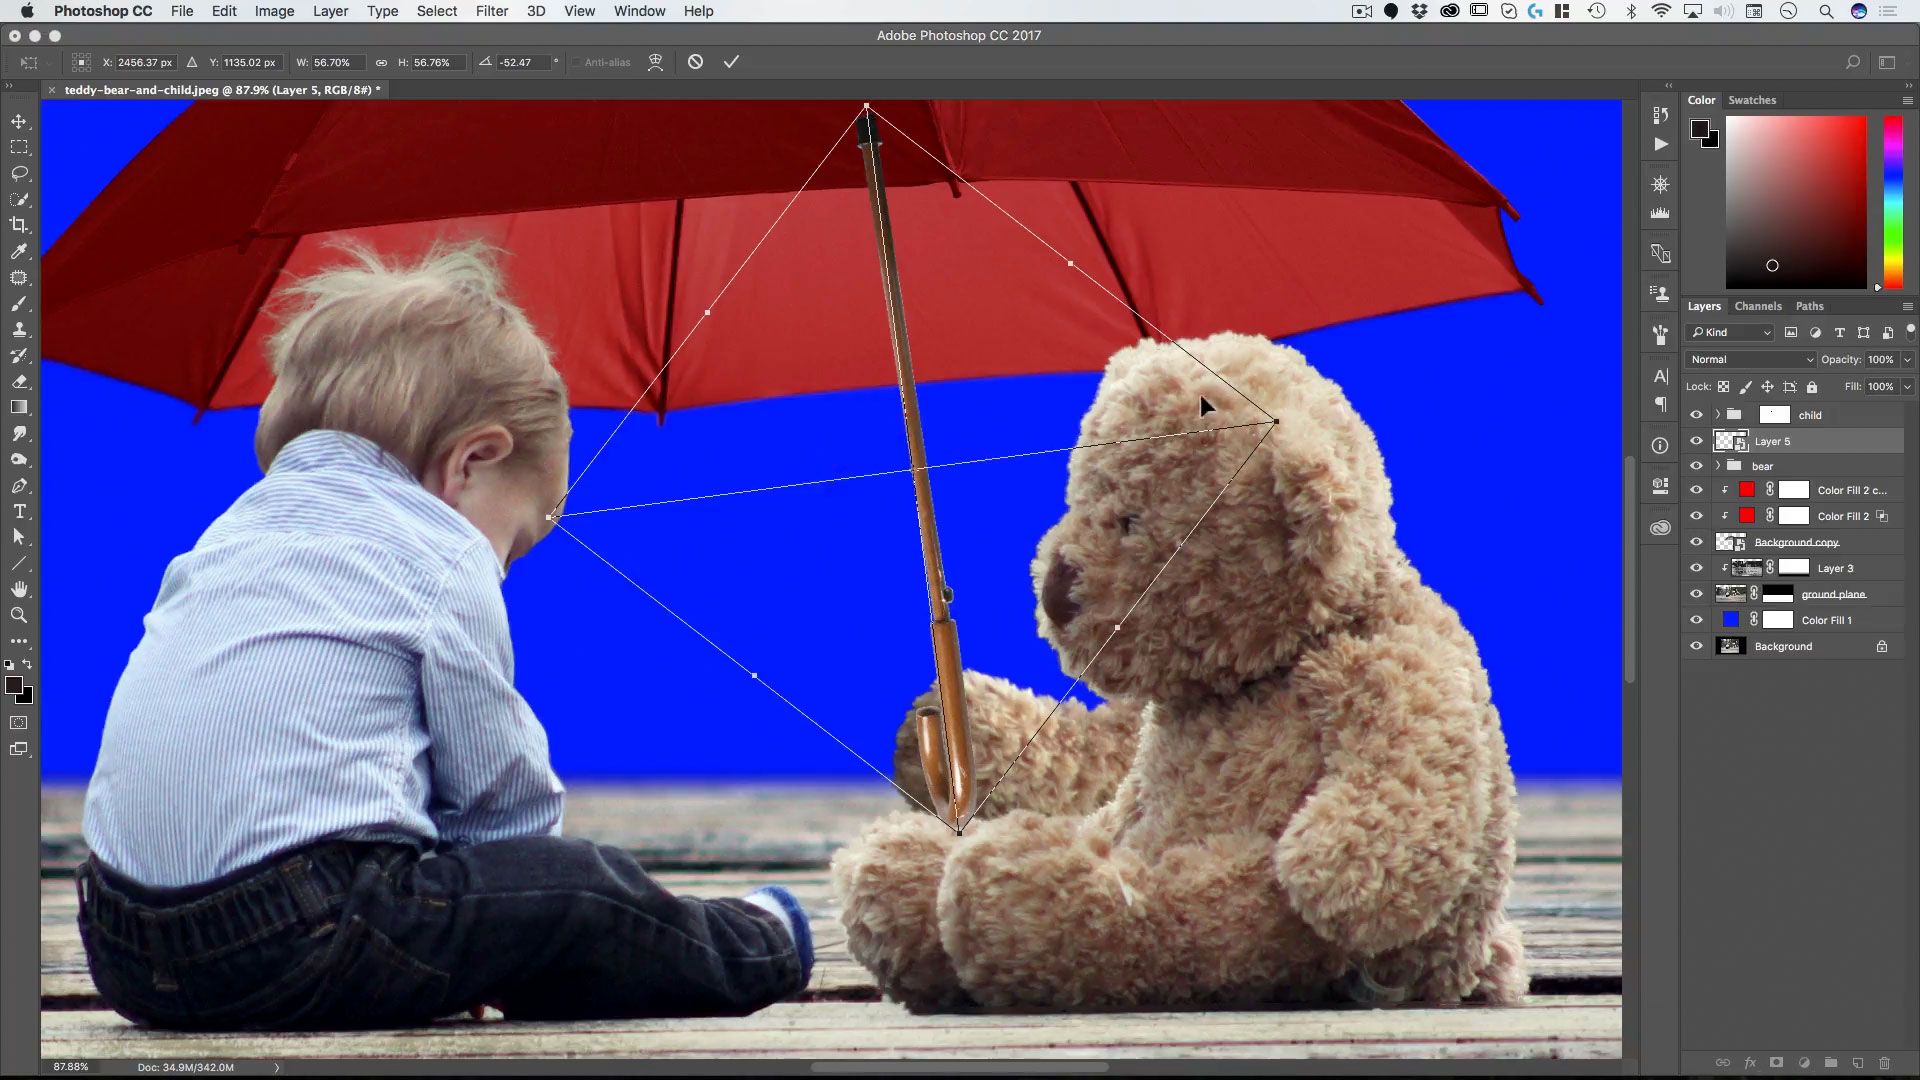
LESSON 4
Compositing the Umbrella
In this lesson we add a different handle to the umbrella and give the teddy bear a new arm—then we combine all three seamlessly.
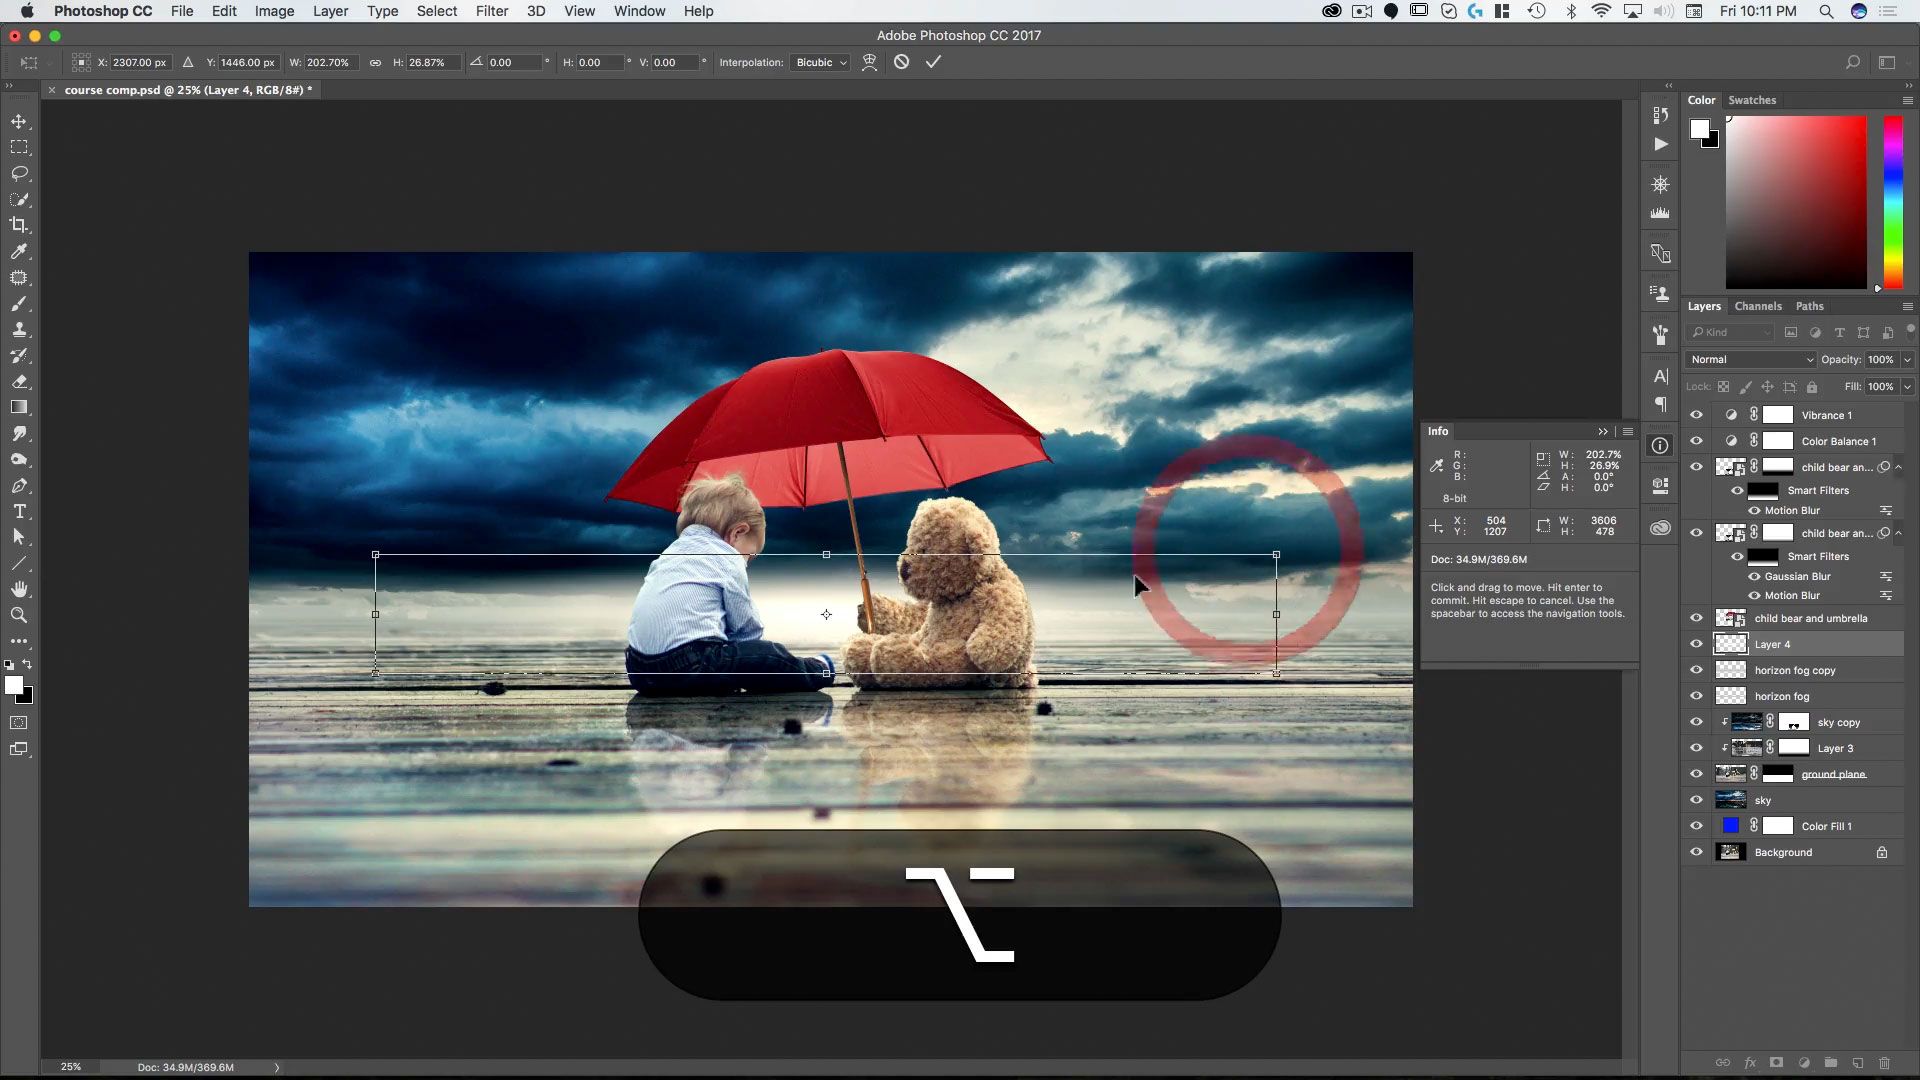
LESSON 5
Sky Replacement & Reflections
Learn how to replace a sky (a technique you can use in any composite) and how to create realistic reflections on a non-flat surface using the displace tool, motion blurs and smart object masks.
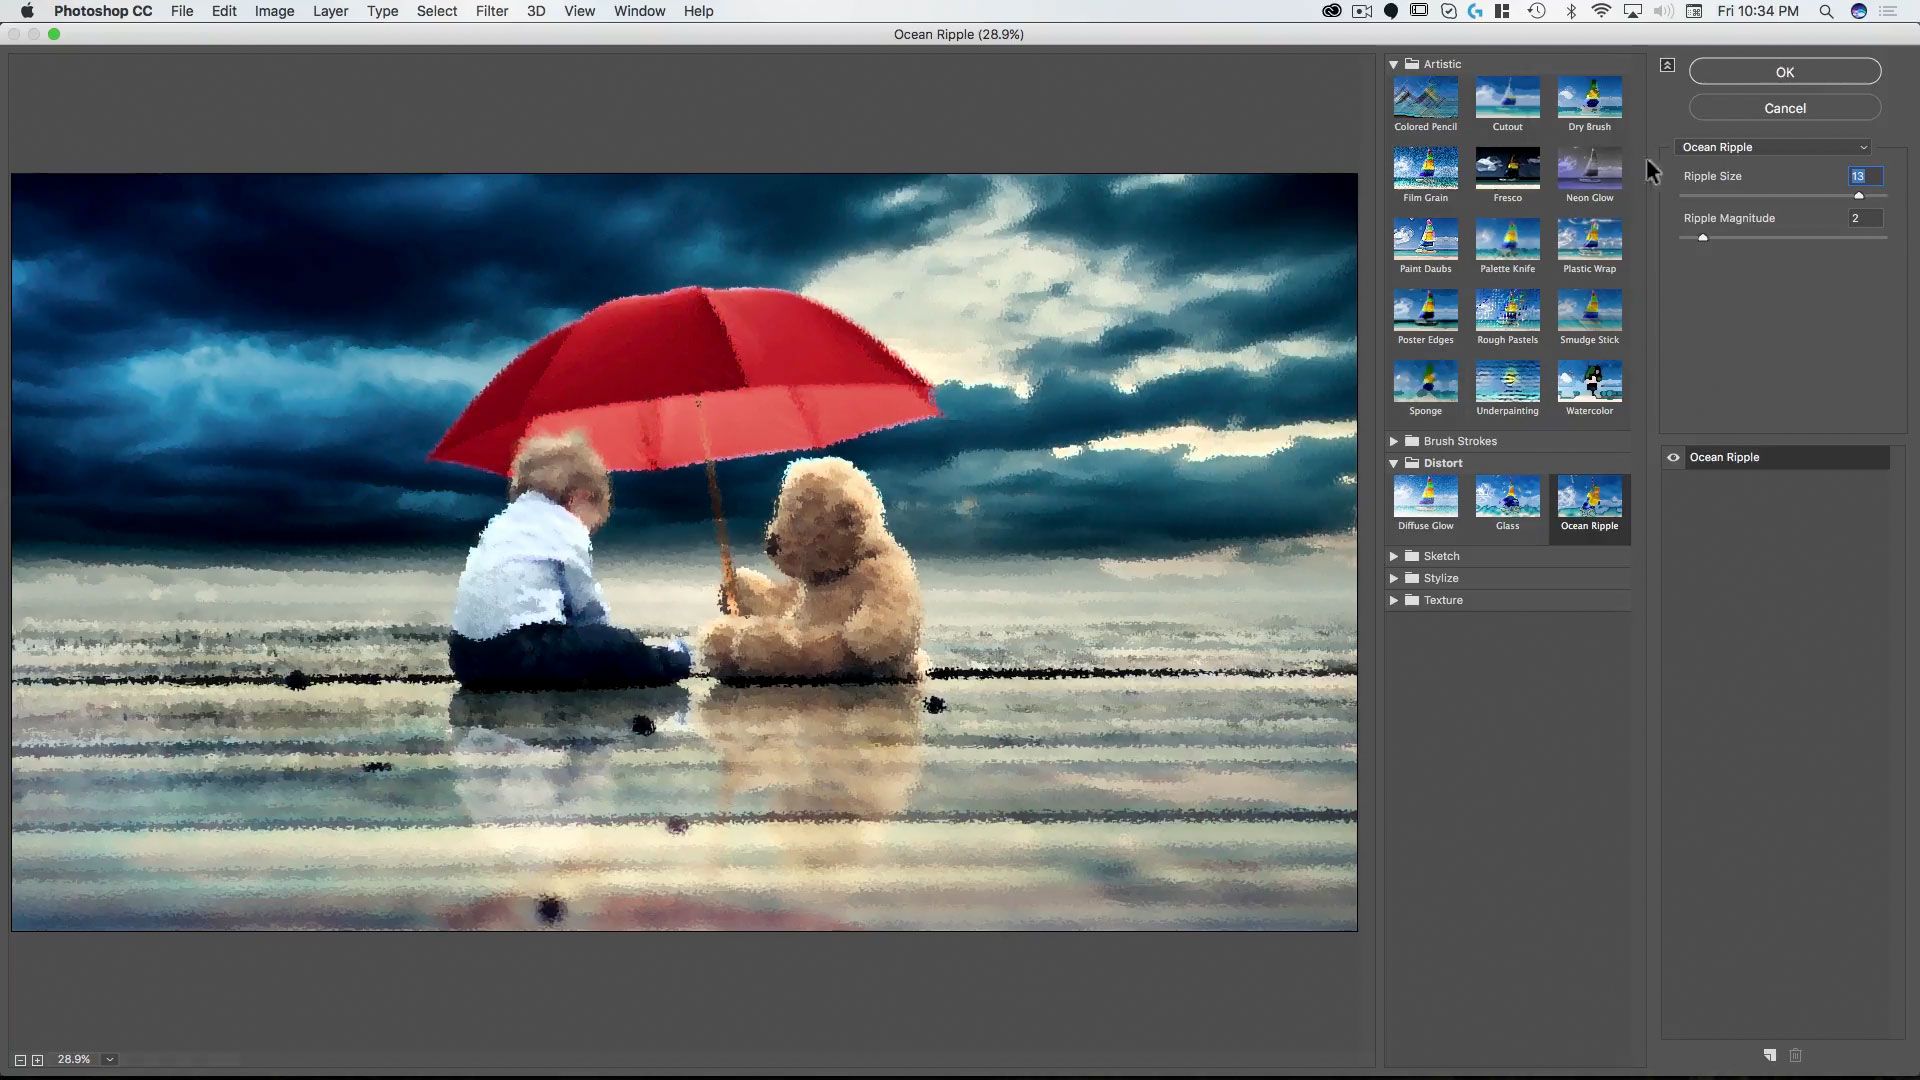
LESSON 6
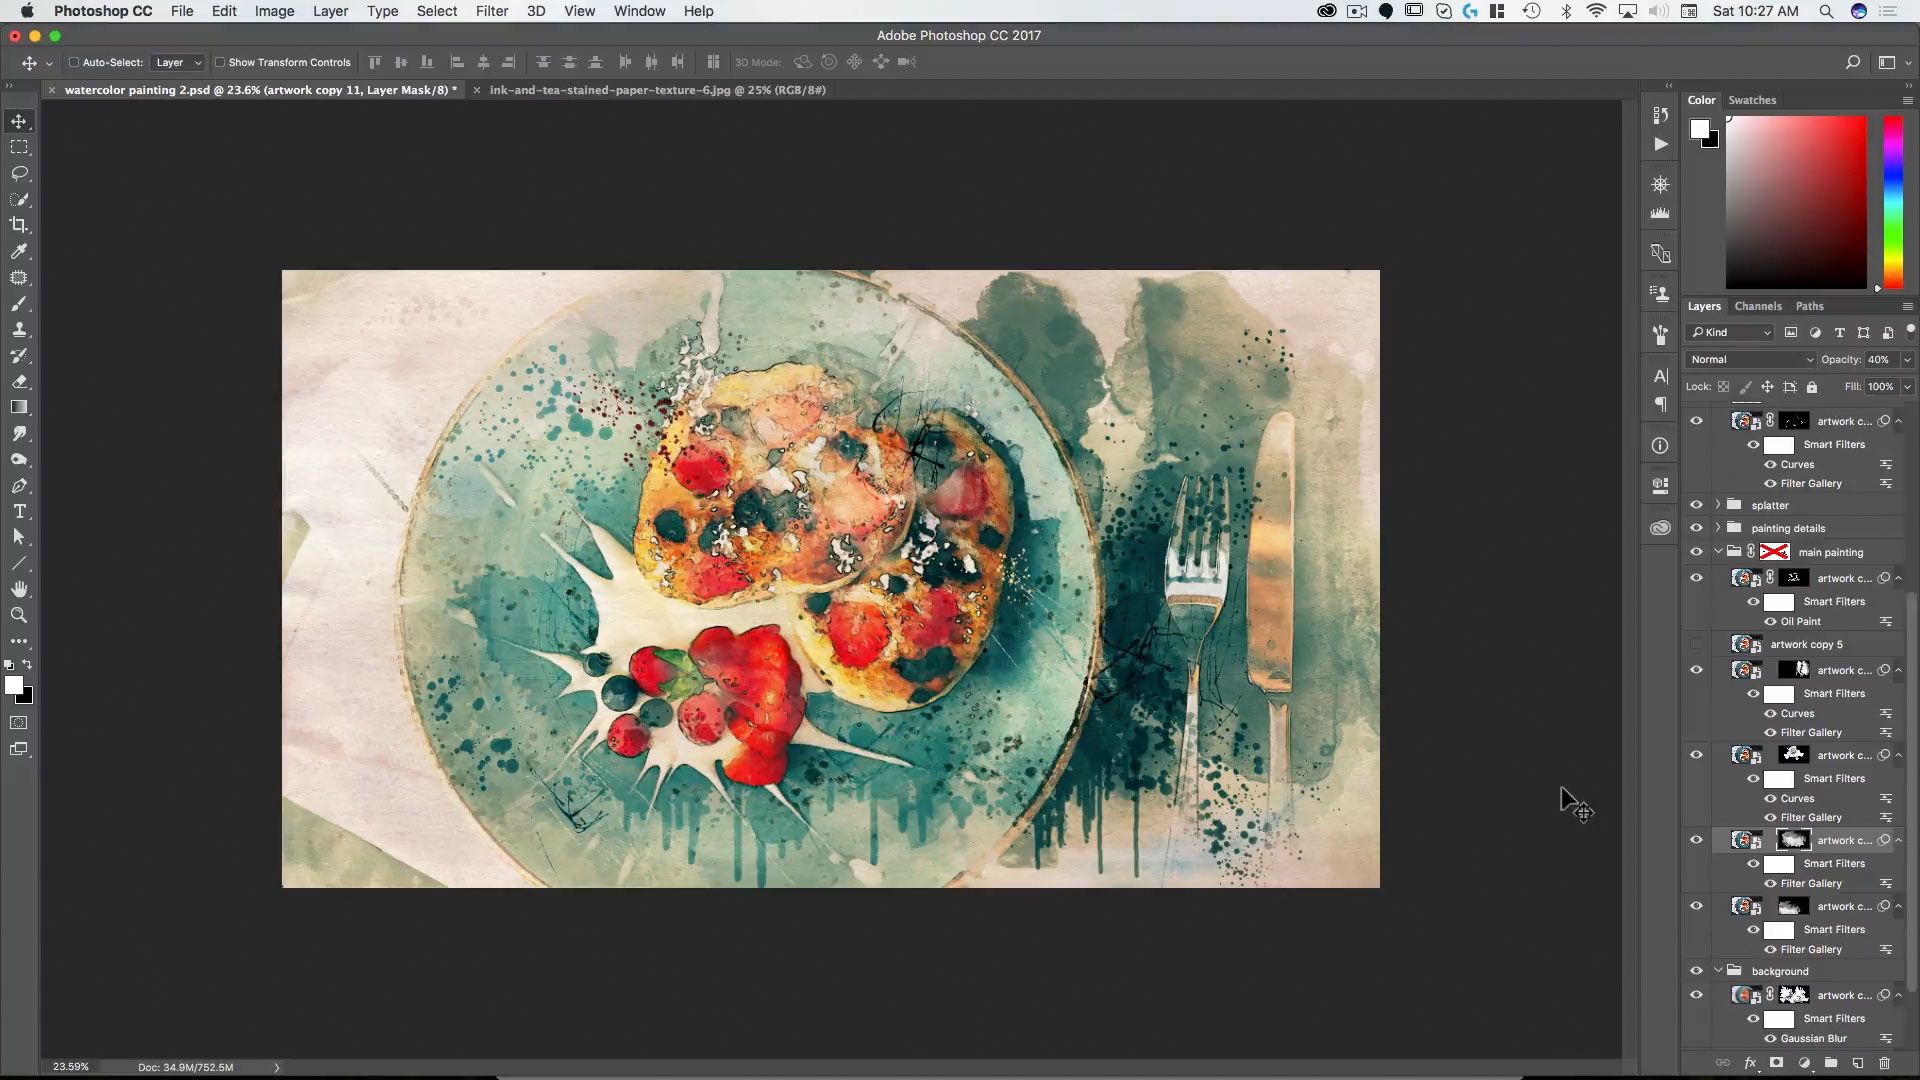
Creating the Painting - Part I
Here the fun begins! Using smart objects and the Filter Gallery, we turn our composite into a realistic watercolor painting.
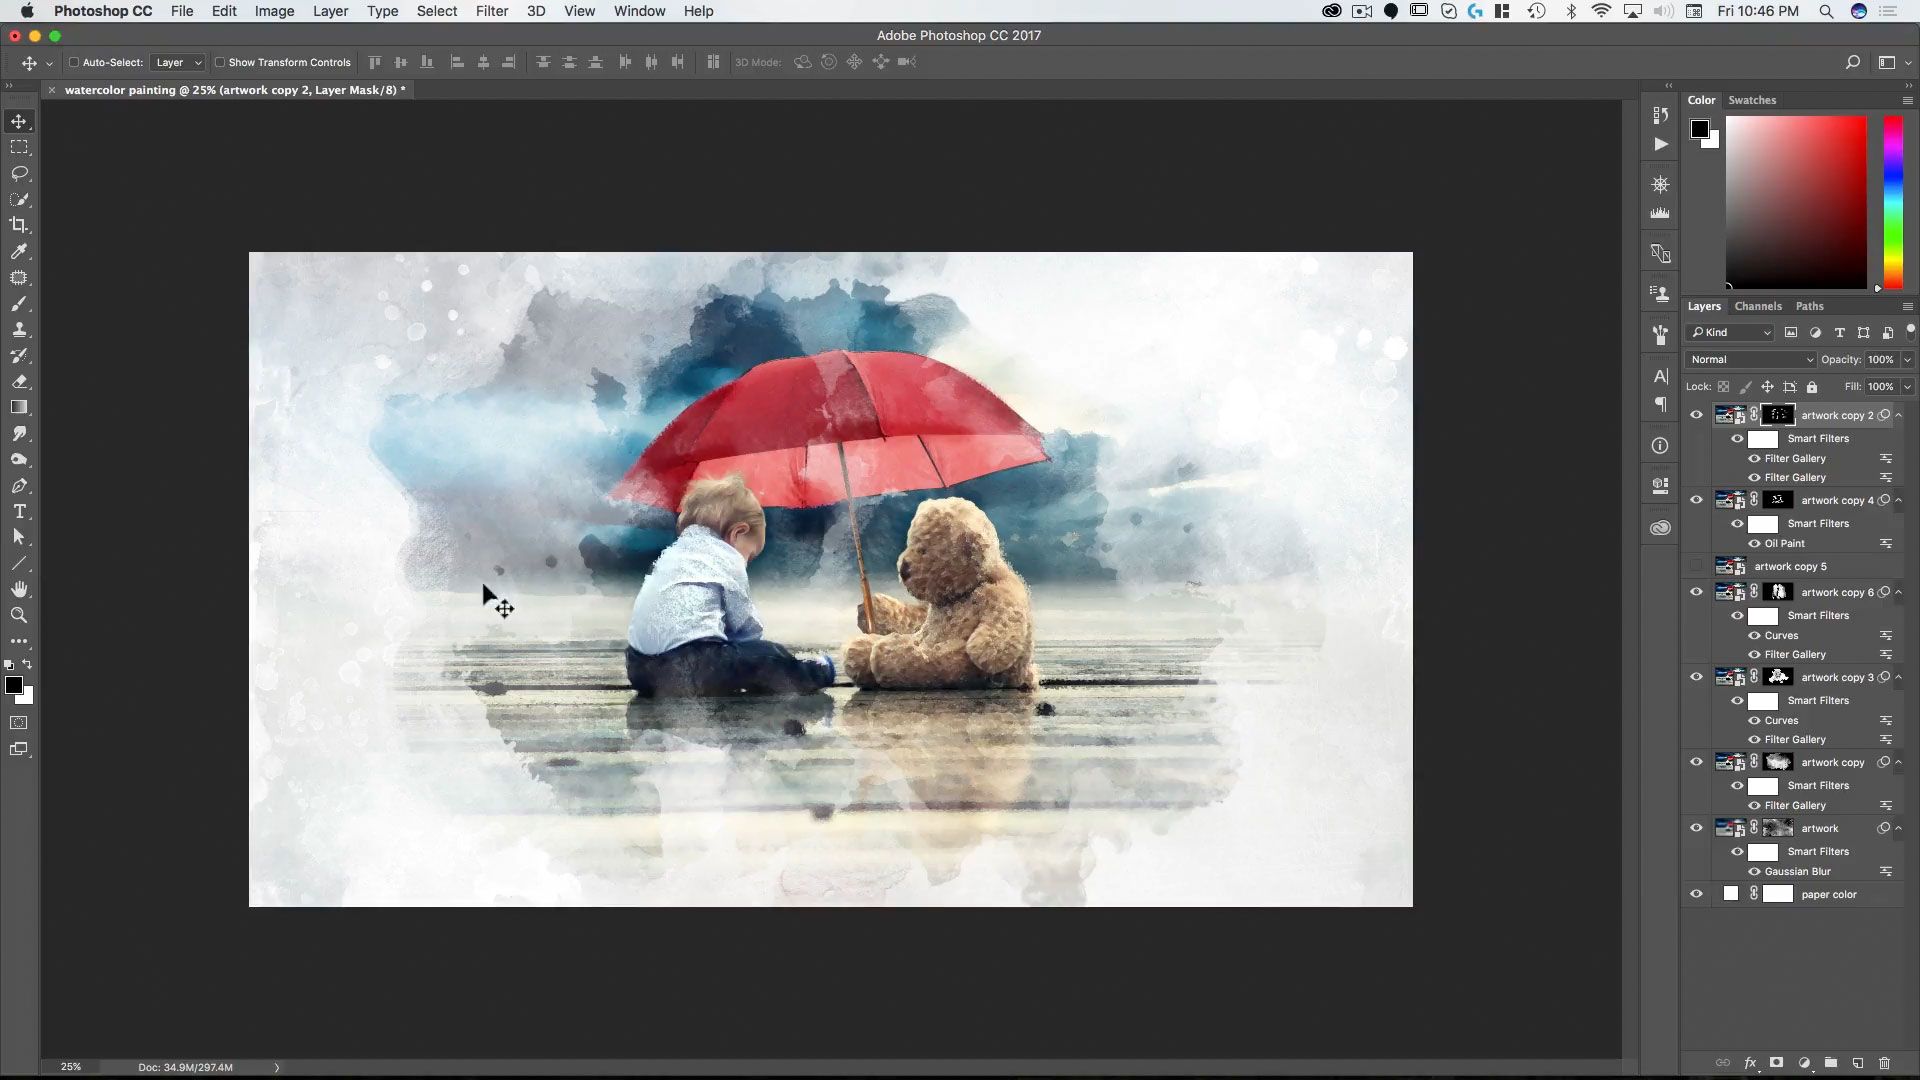
LESSON 7
Creating the Painting - Part II
After creating the painting, we use masks and custom brushes to create the painted on canvas watercolor effect.

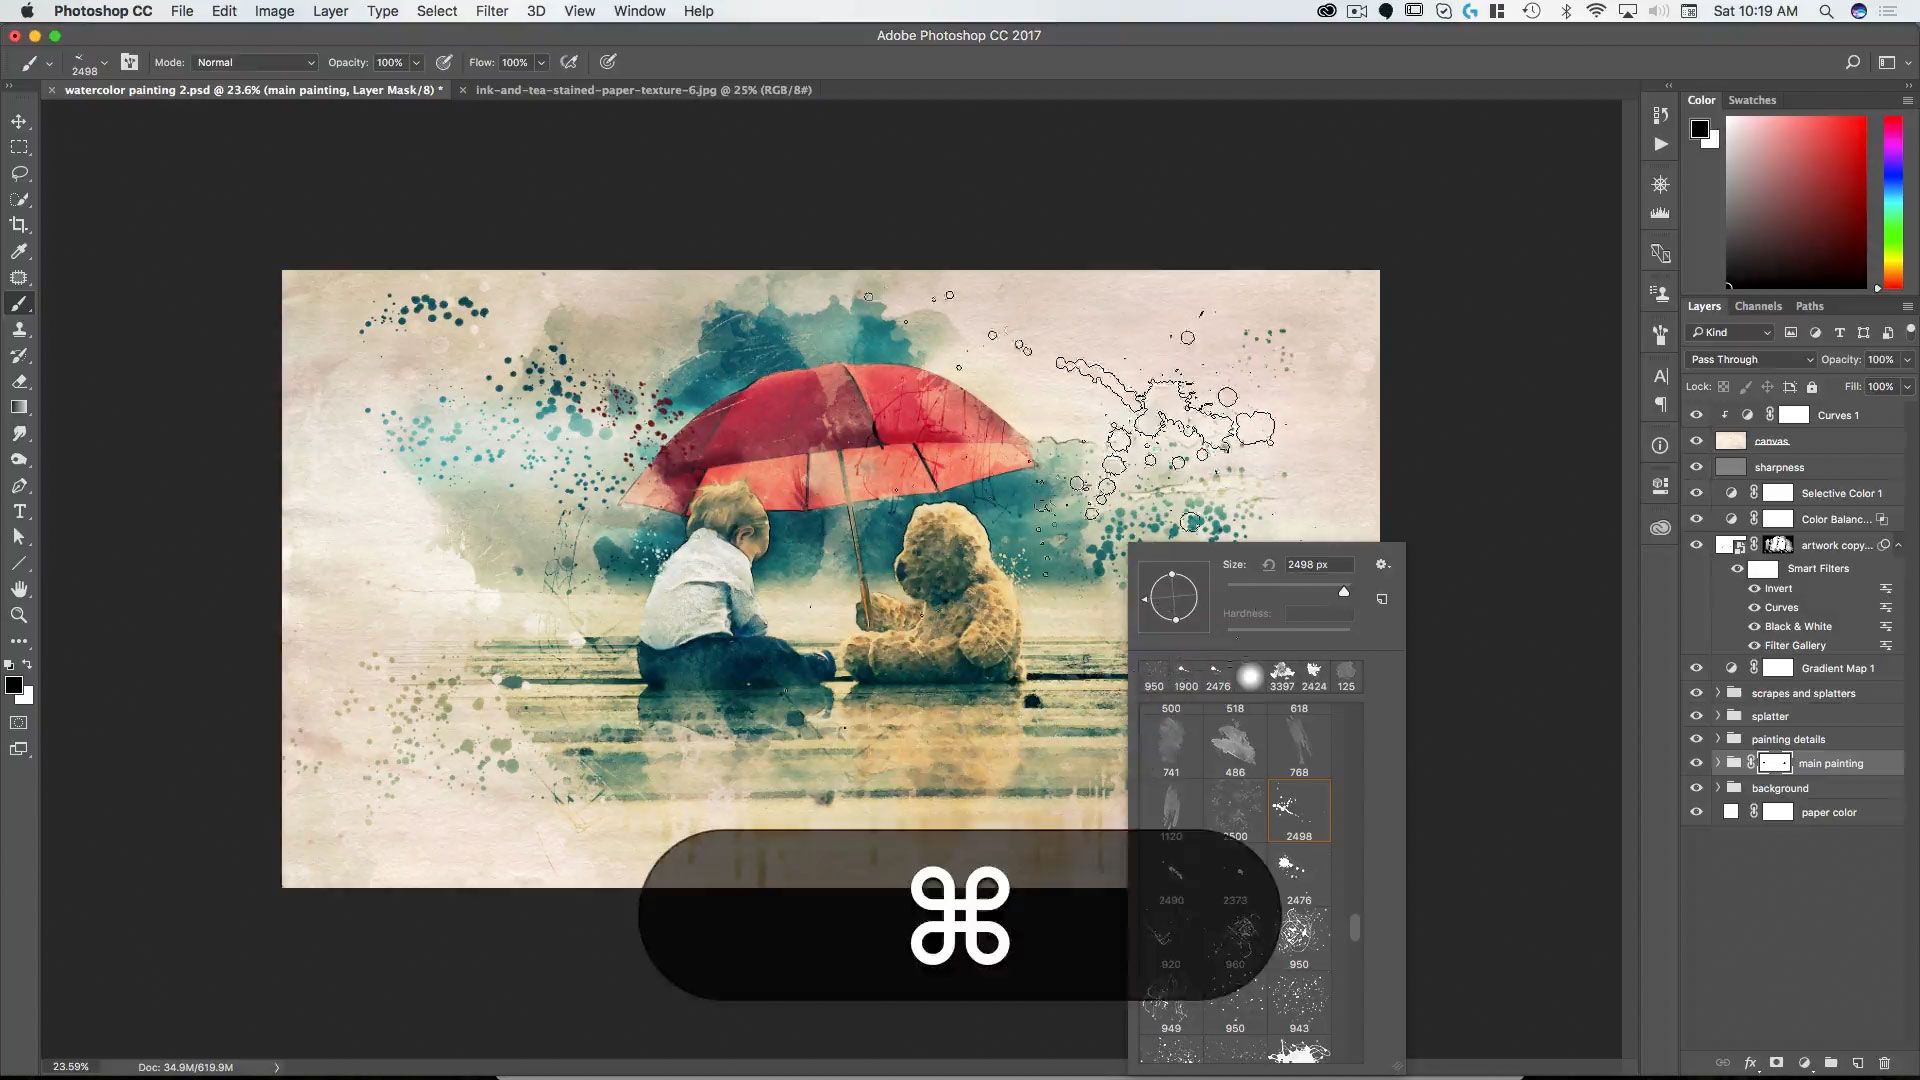
LESSON 8
Adding Drips and Splatter
To sell the painting, we add drips, splatter, running water and scratches to the painting with custom brushes, smart objects and masks.
LESSON 9
The Final Touches
In this lesson we cover color grading techniques, file organization, using the high pass filter and other tools to give the painting the final touches that make it really sing.
LESSON 10
The Power of Smart Objects
In this bonus lesson, you’ll learn how to use the watercolor photoshop file you’ve created to rapidly turn any photo into a watercolor painting using the power of smart objects.
